Project Settings
BadgeMaker Identity
A. Detail view
At the first link you are able to configure the layout of the detail view. The detail view is the view shown in the middle of the dashboard, giving you detailed information of a record.
Use the drop down menu’s to select where you want to see certain data fields. At the top are usually the most important fields selected like the first name, last name and ID number.
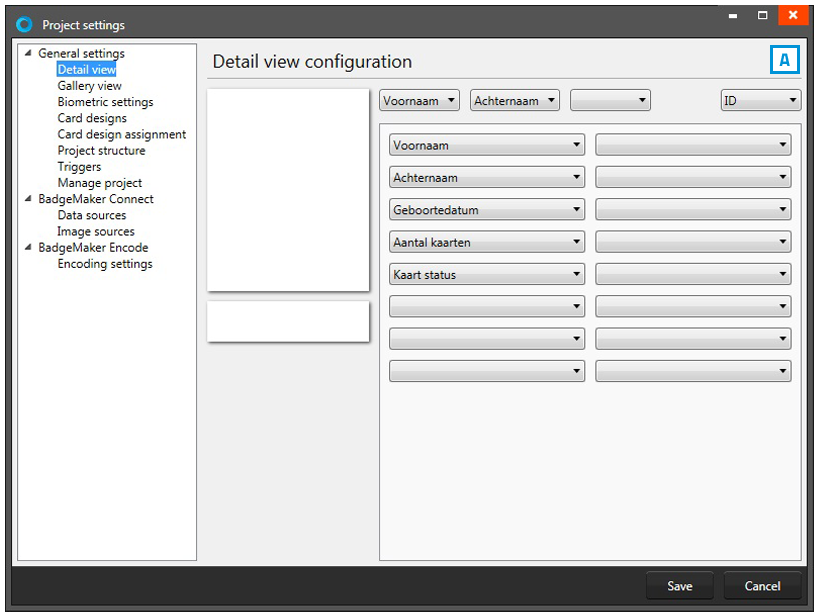
Fig. Example of the Project settings: Detailed view configuration
B. Gallery view
The Gallery View is the Photo slide presentation to find the persons record very easily when people are showing up at the front desk to change or replace a card. In the Gallery setting you can select 2 (two) database fields that are presented with the Photo. You can select First name and Last name or chose for the record ID or any other database field.
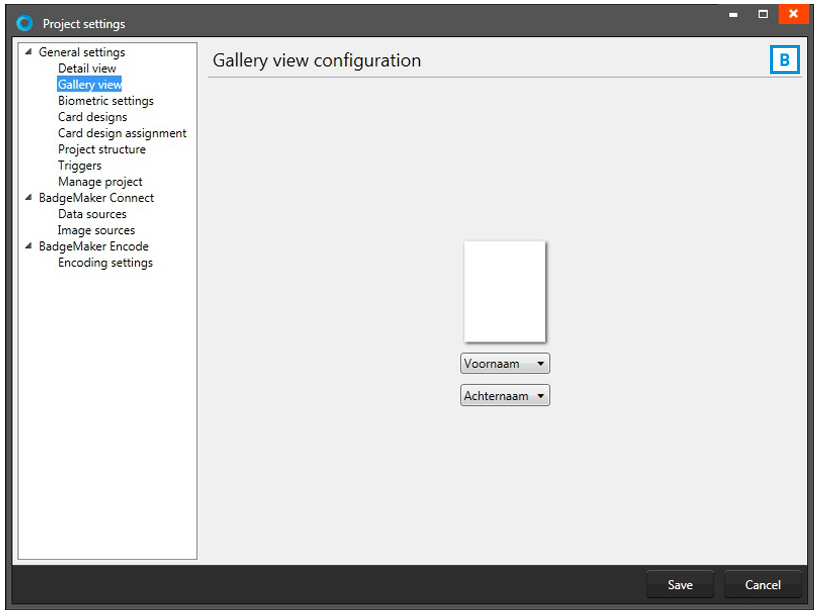
Fig. Example of the Preview Project settings: Gallery view
C. Biometric settings
The Biometric settings is for managing your biometric settings.
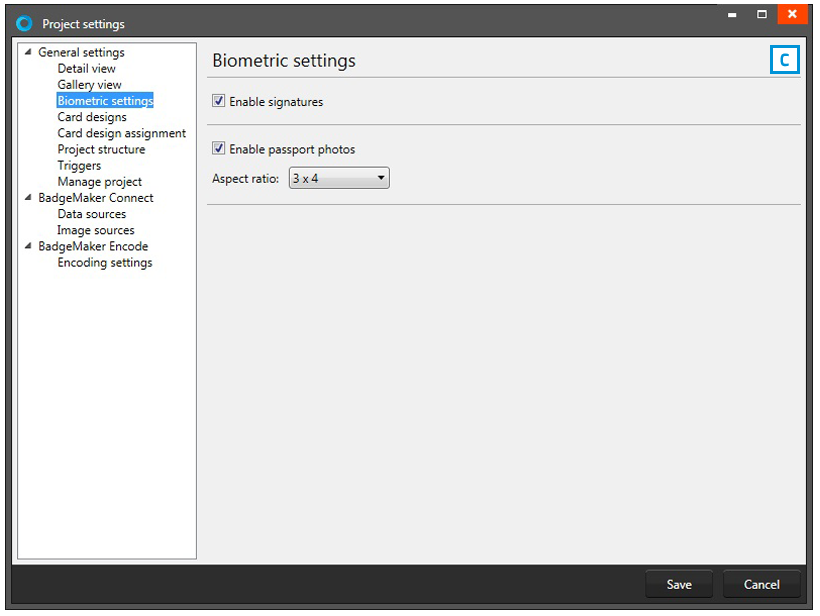
Fig. Example of the Project settings: Biometric settings
1. Check the signature check-box to enable the signature view in your project. Keep this check-box empty when you do not use signatures in your project.
2. Check the passport photos box to enable the photo view in your project. Keep this box empty when you do not use passport photos in your project.
3. You can select a certain ratio for the passport photo.
4. Click on the “Save” button
D. Card Designs
Card Designs is for adding and managing Card Designs to your project.
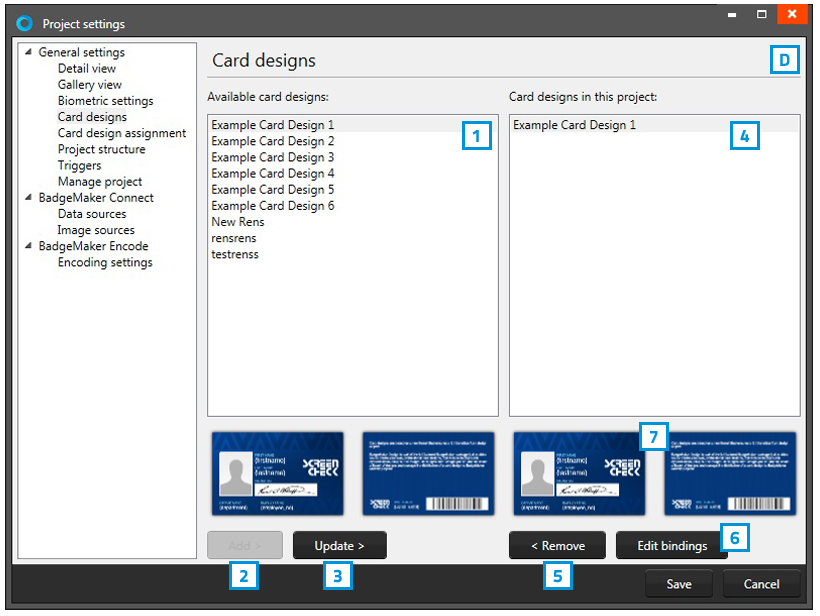
Fig. Example of the Project settings view Tab. Card Designs
1. Select one of the available designs
2. Click on the “Add” button to add the design to your project.
3. If you already have a certain design you can choose to update it by clicking on this button. Any change made to the design will be updated after clicking on this button.
4. If you want to remove a design from your project select one of the designs in this list.
5. Click on the remove button if you want to delete one of the selected designs from your project.
6. Select a design and then click on the “Edit” button if you want to edit the bindings for the dynamic data of the card design.
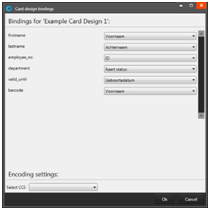
The data binding tool is a powerful option in BadgeMaker Identity. When you add a new layout or update a layout you will be prompted to create the data bindings. Dynamic fields used and created in your layout may differ from the naming or sp
elling of a name that exists in your Project database. Therefore you will be allowed to create the data bindings. The dynamic fields that are created in the layout are presented to the left and you can bind these dynamic fields to the database fields. The tool will create the bindings for you that are obvious: if they are the same or as they were bonded at the previous update; of course you will be able to modify the bindings and confirm these settings. The new or modified layout will be available in the dashboard of BadgeMaker Identity
7. Preview of a selected Card Design.
E. Card designs assignment
It is possible to assign the card designs using a specific project column. Click on the drop down menu to select the column.
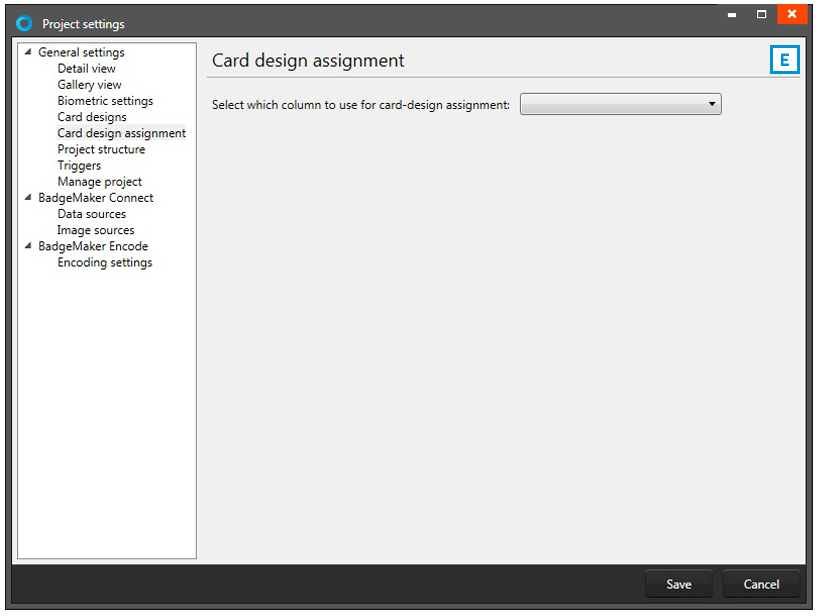
Fig. Example of the Project settings: Card design assignment
F. Project Structure
The Project Structure settings is for managing your structure. You can create, edit or delete data columns in your Project.
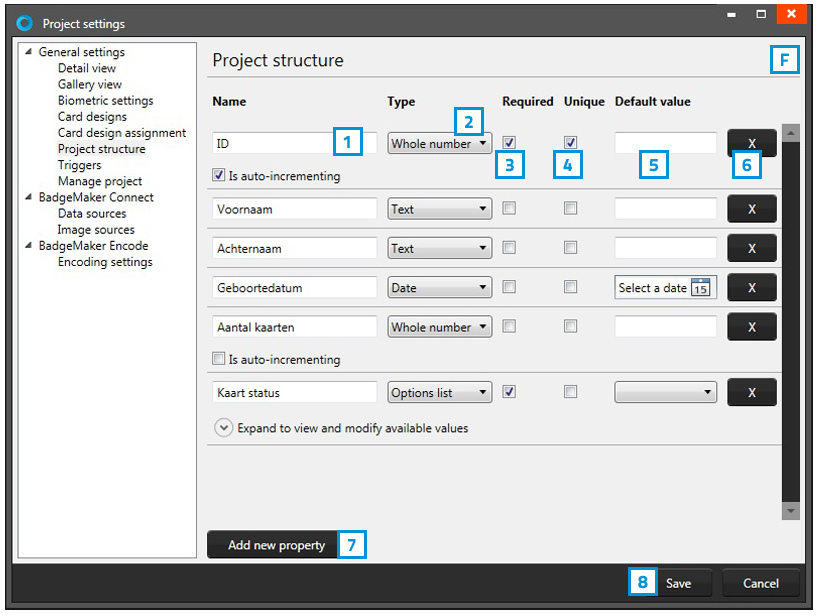
Fig. Example of the PProject settings view Tab. Structure.
1. Adjust the columns name.
2. Adjust the data type. Select if the data are number or text for example. The following types of database fields are supported:
- Text
- Number: When selecting this type you can select ‘auto-increment’ . When a new record is created the number will be the highest number in the Project increased by 1
- Decimal
- List: When this type is selected you can add and delete the list values from the list that is presented for this database field when a value must be entered
- Date
- Email address
- Phone number
3. Select if the field needs to be Required. For each field you can select ‘required’ when this database field must be entered for a (new/edit) record.
4. Select if the field needs to be Unique. For each field you can select ‘unique’ when the entered value must be checked for its uniqueness in the Project.
5. With the default input field you can add a standard value to your data field, existing empty fields and new records will automatically get the default value you add to this data field.
6. Click on the X to delete a column/data field.
7. Click on the “Add new property” button and add and describe the data column name you want to use in your project.
8. Click on the “Save” button to save any adjustments made to your project structure.
G. Triggers

Fig. Example of step 4. New project: Triggers
1. Select one of the events from this list and add specific triggers. BadgeMaker Identity will automatically wait for the event to occur before performing the action that is linked to the trigger.
2. All data columns of the new project are listed. Select one of the columns in order to link a trigger action to it.
3. Click on the “Add trigger” button to add the trigger to the data column and specify the Trigger with events and actions.
4. The property shows you the selected data column.
5. Select the action you want to connect to the data column from the drop down menu and define the action.
6. Click on the “Save” button to save the changes made.
Define the action that is performed once the event has been met. Some actions are only available for specific columns (for example, incrementing number values can only be done on Number type columns). All changes need to be saved before they become active. Understand that Triggers might cause your original data to change, so make sure no vital data is lost when working with Triggers.
H. Manage Project
This link is for managing your project. You are able to completely delete the current project you are working on.
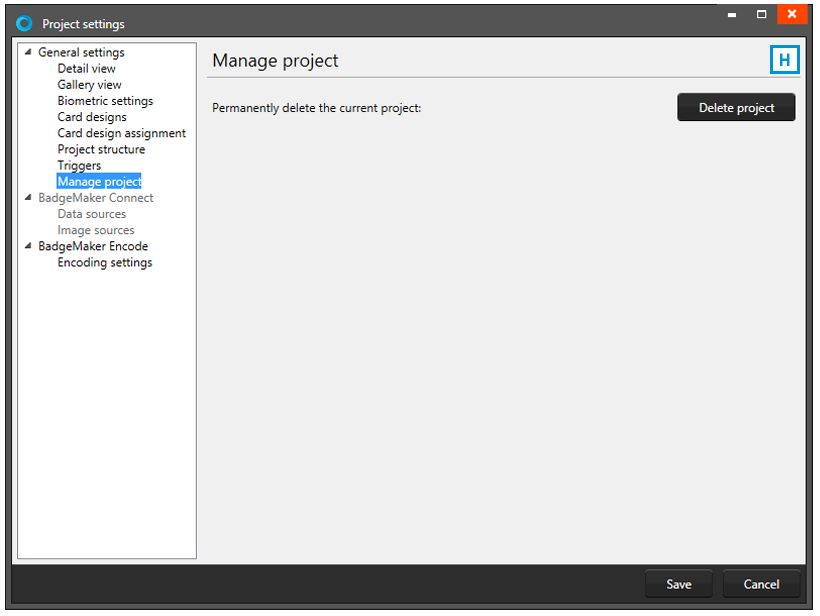
Fig. Example of the Project settings: Project management