A. Import Excel or CSV data
BadgeMaker Identity
1. Datasource
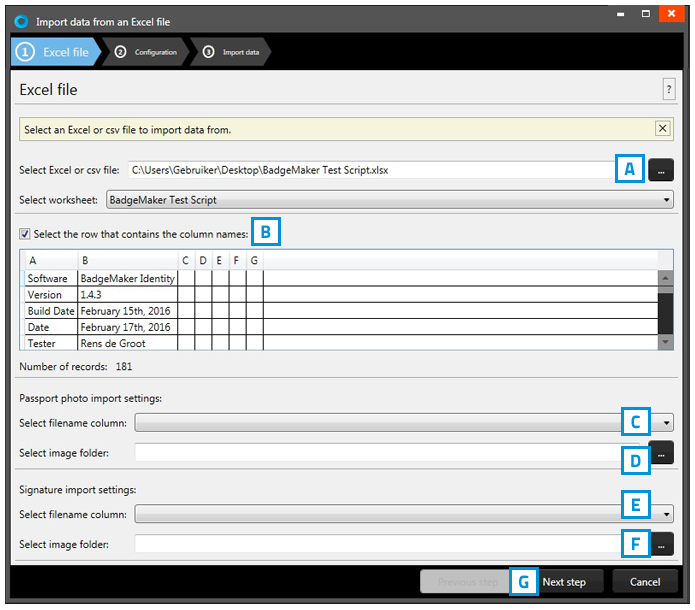
Fig. Example of the import data popup window.
A. Click on this button and select the Excel/CSV file you want to import..
B. Select the worksheet you want to use from the drop down menu.
C. Select the row that contains the column names.
D. Select the column that connects with the unique photo names (for example: ID number or index)
E. Select the folder that contains the card holders photos.
F. Select the column that connects with the unique photo names (for example: ID number or index)
G. Select the folder that contains the card holders photos
H. Click on the “Next step” button to continue to second step.
2. Configuration
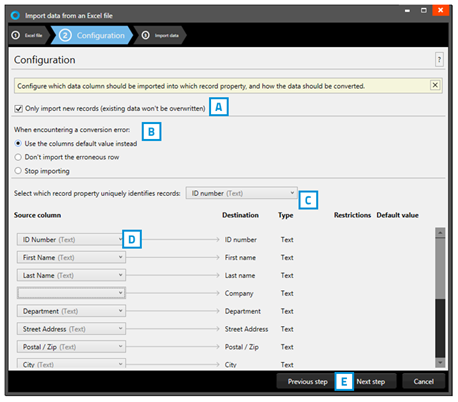
Fig. Example of the import Excel/CVS data popup window.
A. Check this box to only import new records, existing records will not be overwritten.
B. Select what happens when encountering a conversion error.
C. Select one of the fields of the excel data which uniquely identifies data in the data source.
D. Connect the source columns with the destination columns, BadgeMaker has already connects the columns with similar names.
E. Click on the “Next step” button to continue to import the data.
3. Import data
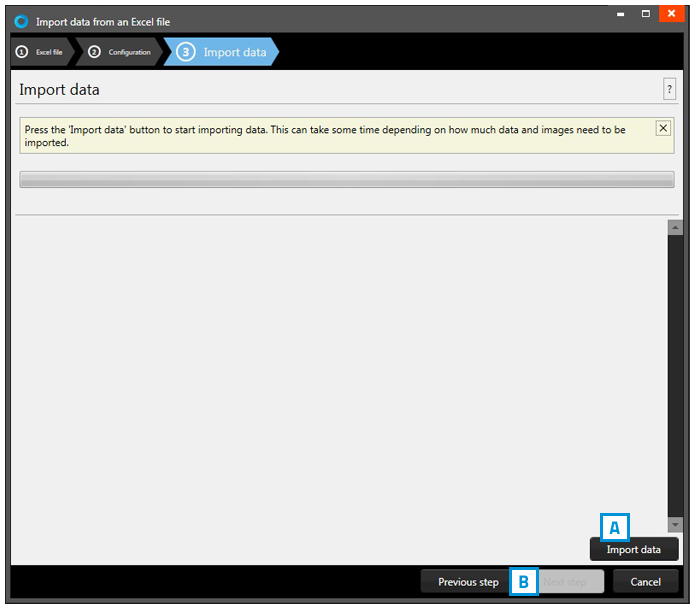
Fig. Example of step 3. Import data
Step 3. is processing the import of the Data. A. Click on the “Import data” button to start working with the imported data from your Excel file. B. Click on the “Previous step” button to make any changes before creating the project.