BadgeMaker Encode
Encoding with BadgeMaker
Encoding with BadgeMaker Identity has been fully integrated into the printing process. The most important step in order to enable encoding for your project is to add your CCI file to your project. Go to the Project Settings panel, and select Encoding Settings from the BadgeMaker Encode tab.
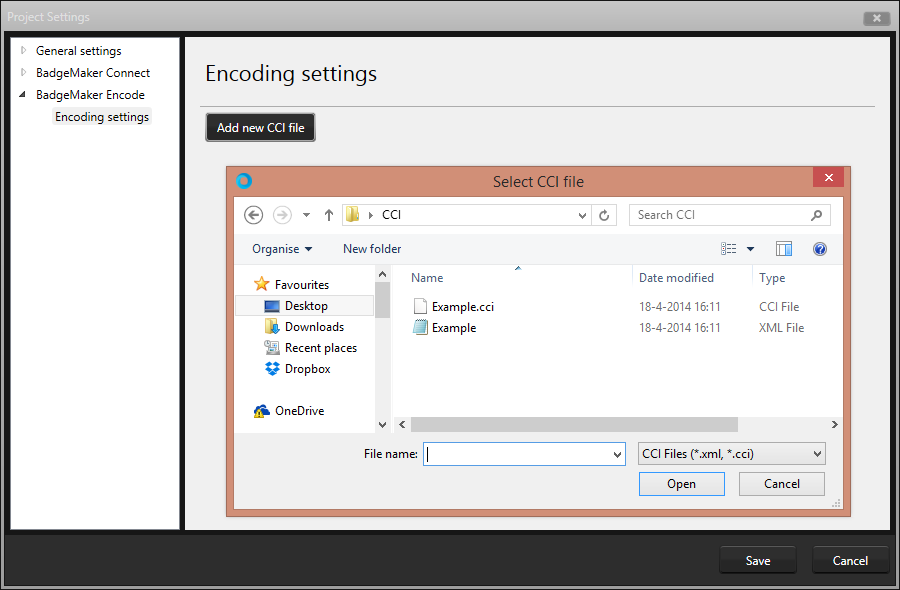
 From this panel, you will be able to select a CCI file from your system. Doing so will trigger a pop-up dialogue that allows you bind all Dynamic Data fileds to columns in your BadgeMaker Identity project.
Once completed, you will have to link the CCI file to one or more card designs that have been previously added to your project. This will allow you to determine whether a specific card design requires a specific CCI file. While a CCI file can be linked to multiple card desings, a card design can only be linked to one specific CCI file.
Click “Save” to store the changes. You are now ready to start encoding your cards. Encoding is simply a matter of selecting a record and giving the print command. You might be prompted to select the reader that is associated with your printer, this is only the case for systems that have more than one reader connected at the same time.
Note that you might need to configure your printer to perform both Encoding and Printing tasks at the same time, otherwise BadgeMaker Identity might list your print action as failed, even though encoding did take place
Supported standards
BadgeMaker Encode currently supports MIFARE Classic, MIFARE Plus and MIFARE DESFire standards.
Supported devices
Previous versions of the manual contained an overview of supported printers and encoding standards, please review the “Supported Printers” chapter of the manual that is dedicated to supported hardware for BadgeMaker and the Add-On Encode.