1. Creating a MIFARE Classic Template using the CCI Editor
 Launch the CCI Editor, which will open to a blank window. Choose “File” → “New” → “Mifare Classic (1k)” or “Mifare Classic (4k)” depending on your project requirements.
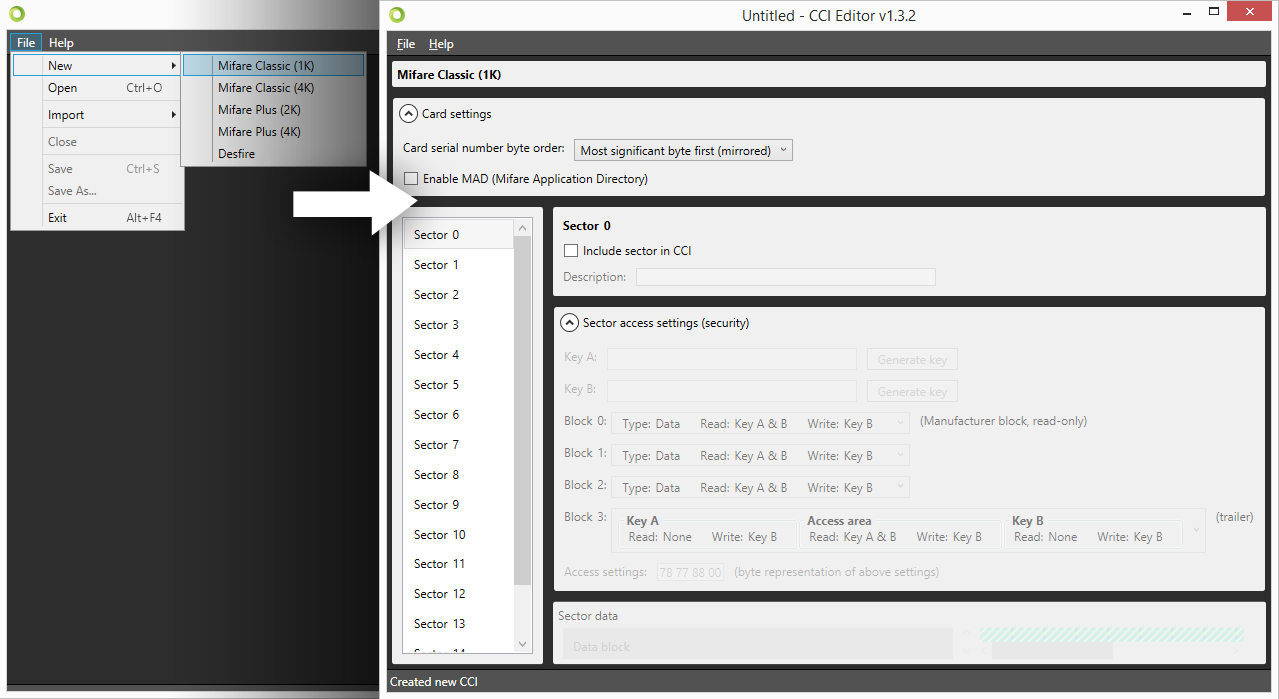
The Card Settings are displayed on top of the screen. You are able to define whether the card should use MAD Sectors or not. Enabling this setting will have an impact on specific sectors and their contents. It will also automatically generate Key A for sector 0 (and sector 16 for 4K cards).
On the left of the screen, a list of sectors is displayed, 16 for 1K cards, 40 for 4K cards. Depending on the settings, each of the sectors can contain information that will be encoded onto the card through BadgeMaker Identity.
The center of the screen allows you to configure the information for the currently selected sector. You are able to define keys, determine read and write settings for each of the four data blocks and create data segments to fill the available space. The CCI Editor visualizes any data that will be encoded onto the Smart Card in order to give the user a better view of the amount of used and available space in each sector.
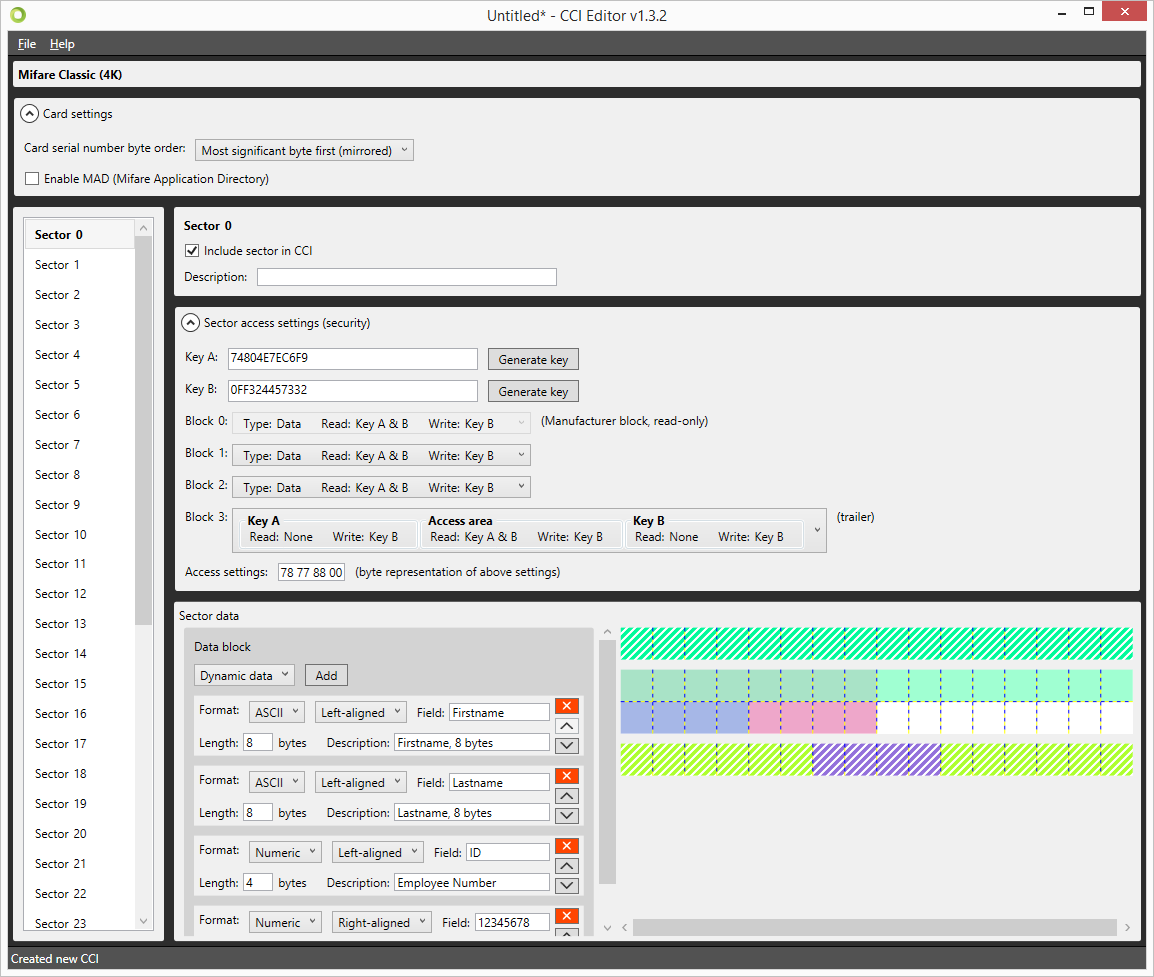
Certain blocks (such as Block 0 on Sector 0, and the Trailer Block on all sectors) are reserved for manufacturer information and storing keys. These are not available to the user, and are displayed as hatched.
Each square represents one byte of information. When adding sector data, the length of the data is visualized on the right. Each item in the list is given a slightly different color to make it easier to understand how the data is transferred to the card.